ServicesSurface Prep and Sanding
Surface Preparation and Sanding in Secaucus
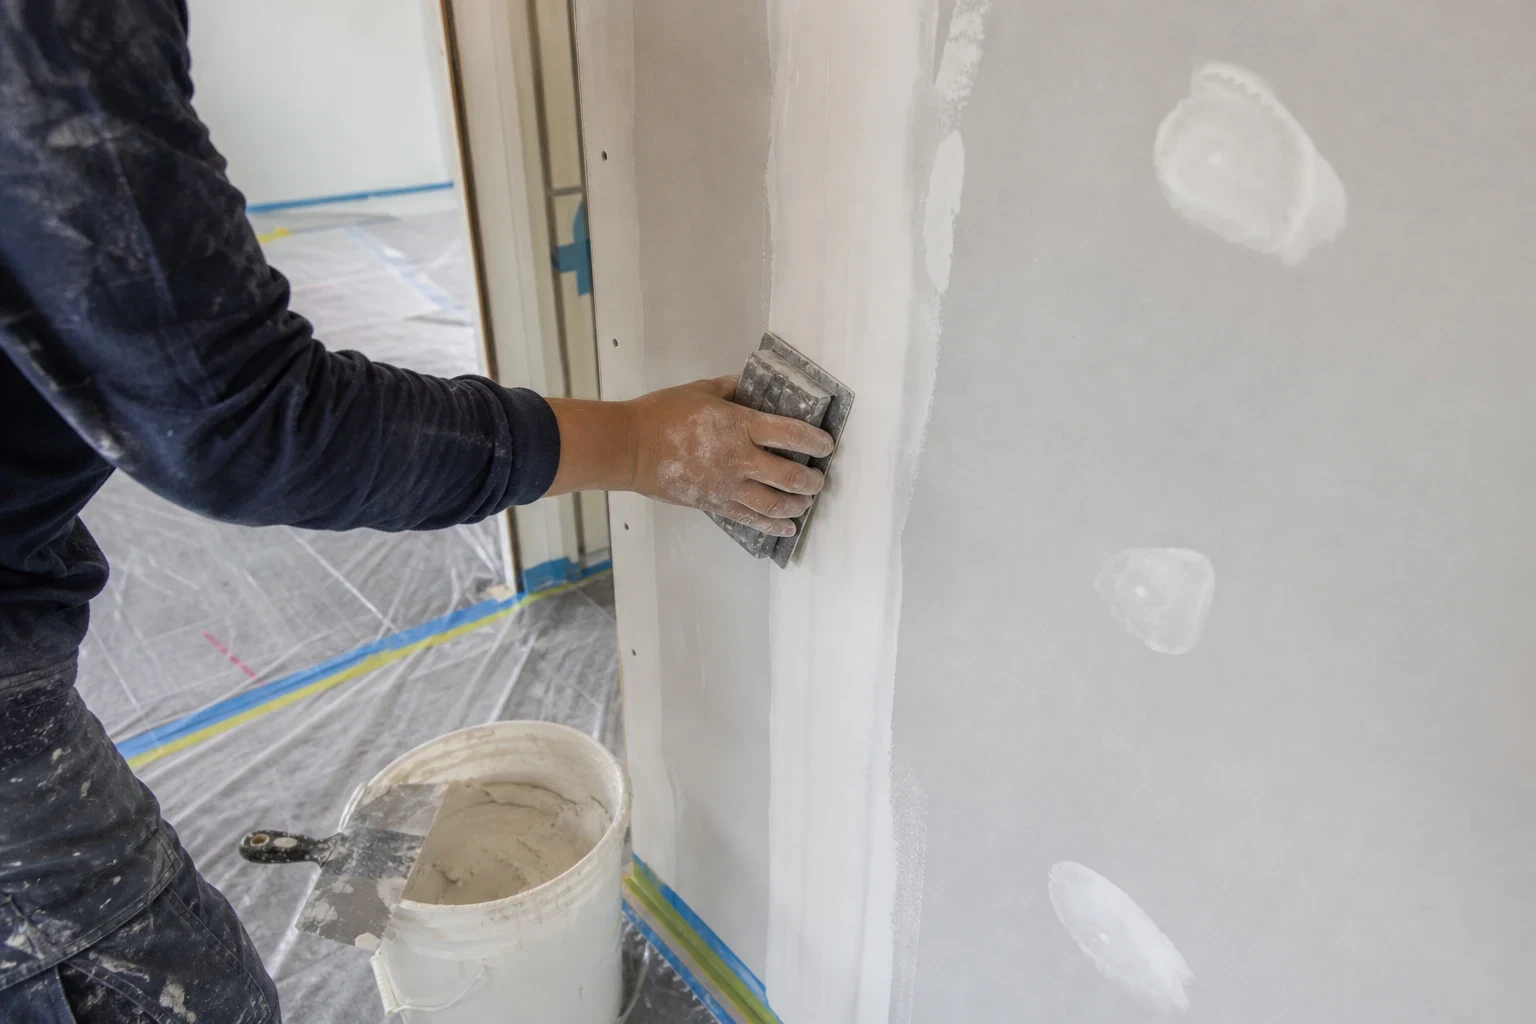
Paint only looks as good as the wall under it. We fill, sand and prime walls and ceilings until they are smooth and ready for paint, using vacuum-assisted sanders, covered floors and a cleanup before we leave each day so your home stays livable.
Getting walls ready before the paint goes on
Surface preparation is the careful work that happens before a fresh coat of paint. That means scraping loose paint, filling nail holes and dings, feathering out old patches, sanding ridges and tool marks flat, and sealing it all with primer. Skip it and every flaw shows through, especially under the low light from a window or a ceiling fixture.
It is the right call when you or your painter are about to repaint, when an earlier patch job left bumps and halos, or when a landlord wants the walls in a unit brought back to one even surface.
Sanding is also the dustiest part of drywall work, so it is where our habits matter most. We seal off the room, keep dust at the tool, and clean up every day.
What our prep and sanding work includes
- 01
Room protection and dust barriers
We lay drop cloths and rosin paper on floors, cover furniture that stays in the room, and tape plastic over doorways and return vents. Fine gypsum dust stays in the work room instead of drifting through your home.
- 02
Scraping loose paint
Peeling, bubbled or flaking paint comes off back to a sound edge. Painting over it only traps the problem.
- 03
Filling holes, cracks and dents
Nail pops, anchor holes, door-handle dents and hairline cracks get filled with setting or lightweight compound depending on depth. Anything bigger than a small hole is handled as drywall patching.
- 04
Sanding with dust control
We use pole sanders and vacuum-connected sanders with fine-grit screens, working in light passes. The goal is to flatten the compound without scuffing the paper face of the drywall.
- 05
Skim coating rough areas
When a wall has torn paper, old texture or a patchwork of past repairs, a thin skim coat evens it out before the final sand.
- 06
Priming for an even sheen
Fresh compound soaks up paint differently than a painted surface. We seal repairs and bare spots with primer so the topcoat dries evenly instead of showing dull patches.
Questions about Surface Prep and Sanding?
Call(201) 800-6041Signs your walls need prep before painting
Old patches show through
If you can see the outline of earlier repairs after painting, the compound was never sanded flat or primed. Painters call this flashing.
Peeling or bubbling paint
Paint that lifts usually went onto a dusty, glossy or damp surface. It needs to be scraped and prepped, not covered again.
Nail pops and screw bumps
Small round bumps in a line are fasteners backing out. In many Secaucus homes the swing between humid summers and dry, heated winters is a common cause, and each one needs resetting and filling before paint.
Ridges and rough seams
Run your hand along the wall. If you feel lines at tape joints or trowel marks, a light coat and careful sanding will flatten them.
Torn drywall paper
Pulling off wallpaper, mirrors or adhesive hooks can tear the brown paper layer. It has to be sealed before compound goes on or it will bubble.
How a prep and sanding job runs
- 1
Look at the walls together
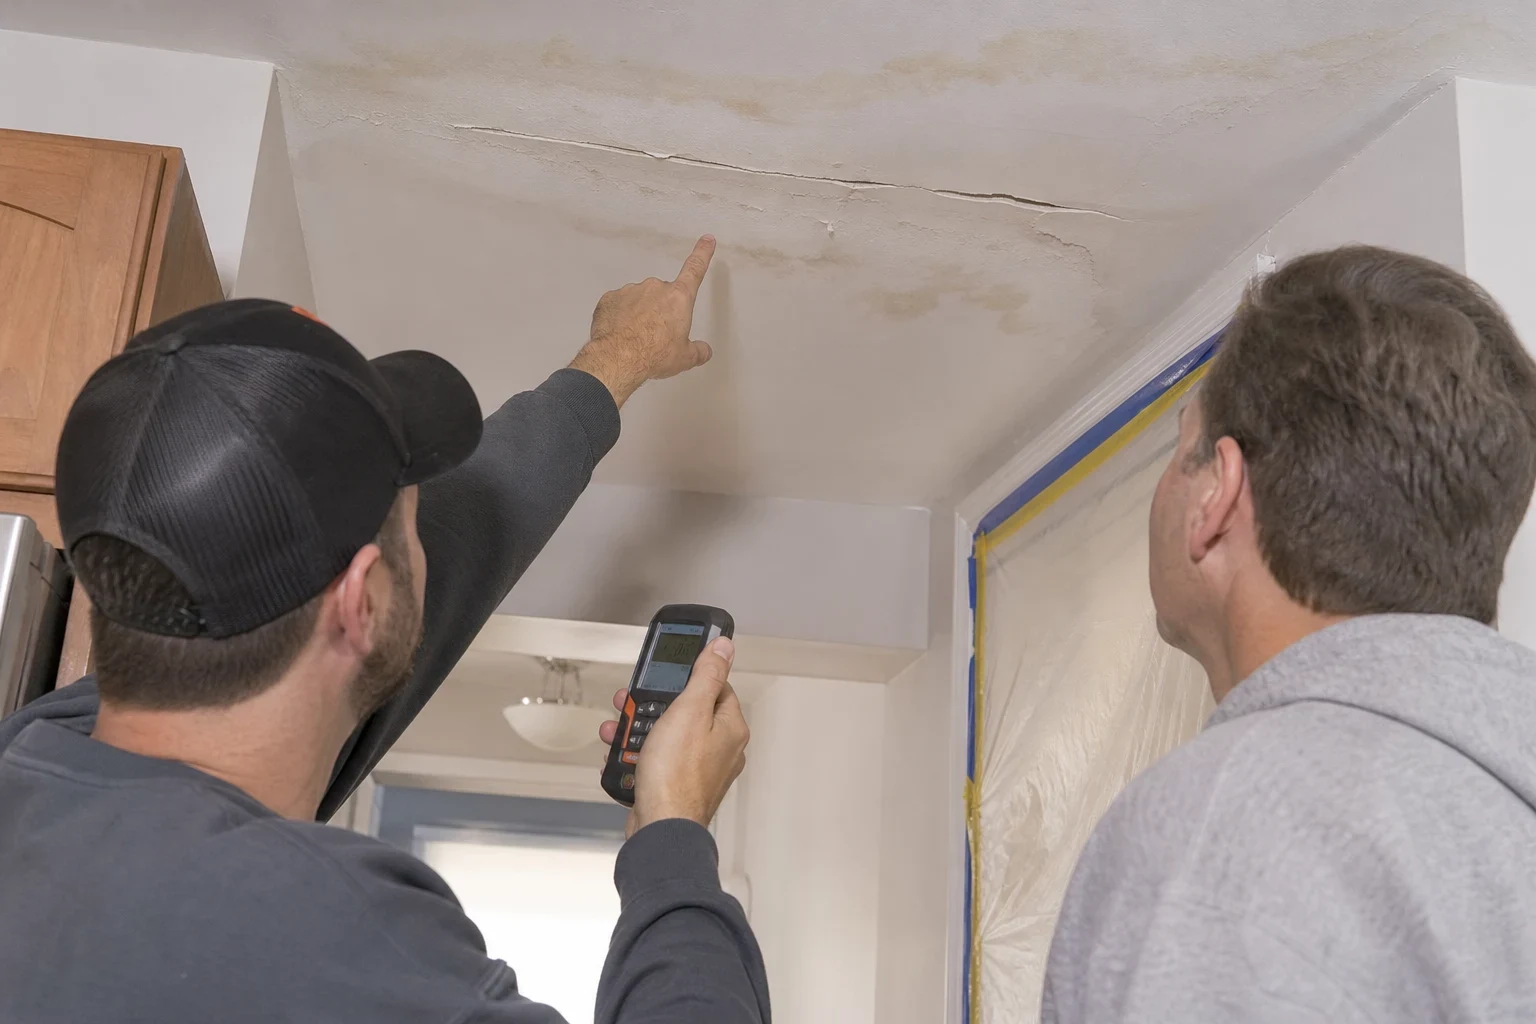
It starts with a phone conversation about the rooms and what you are seeing. On site we check each surface under a work light, mark every flaw, and explain what needs filling, skimming or priming before you get a written estimate.
- 2
Set up and protect
Before any compound comes out, we move what we can, cover what stays and seal the room with plastic and tape. Floors are covered from the doorway in.
- 3
Fill, dry and sand
Compound goes on in thin coats with drying time between them. Then we sand with vacuum-assisted tools and check each spot with a light held flat against the wall.
- 4
Prime and walk through
Repairs and bare areas get primer. We walk the room with you and redo anything that still catches the light.
- 5
Clean up every day
Each evening we vacuum, wipe sills and baseboards and fold back drop cloths so you can use the room. On the last day the plastic comes down and the space is left tidy and ready for paint.
What affects the cost of prep and sanding
Prep is priced by how much work the surface needs, not only by its size. A freshly hung wall with a few nail holes is a short job, while a ceiling with years of layered repairs takes longer. We look at the space first and give you a written, line-item estimate so you can see what each part covers.
- Condition of the surface
- Scattered nail holes take far less time than peeling paint, torn paper or a wall full of old patches.
- Spot filling or full skim coat
- Filling individual flaws is quicker. A full skim coat means more compound, more drying time and more sanding.
- Ceiling height and access
- Tall ceilings, stairwells and tight hallways need ladders or scaffolding and slower, careful setup.
- Furniture and room setup
- A room that is mostly cleared goes faster to protect. Heavy furniture that must stay means more covering and more care.
- Number of coats and drying time
- Deep fills need several thin coats, and humid weather can slow drying, which can add a visit.
Questions about surface prep and sanding
How much dust will get into the rest of my house?
Very little when it is done right. We seal doorways and vents with plastic, sand with tools connected to a vacuum, and clean up each day. You may notice a light film right at the edge of the barrier, and we wipe that down before we leave.
Can I stay home while you work?
Yes. Most people go about their day in other rooms. We keep the work area closed off, keep walkways clear and let you know when it is a good time to move through.
How long does surface prep usually take?
A single room with light filling can often be done in a day or two. Skim coating or deep repairs need drying time between coats, so those jobs run longer. We give you a realistic schedule with the estimate.
Can you blend repaired spots with my existing paint?
For small areas, yes. Our paint touch-ups service matches the repaired spot to the surrounding wall so it disappears. If the wall color has faded a lot, we will tell you honestly whether a touch-up will blend.
What if a wall has water stains or soft spots?
A dry, old stain can be sealed with a stain-blocking primer. If the drywall is soft or crumbling, sanding will not fix it, and the area needs drywall repair or ceiling repair first. We will show you what we find before any work starts.
Smooth walls without dust all over your home
Tell us which rooms you are getting ready and what you see on the walls. We will talk through the prep, set up a visit and leave the space clean each day, in Secaucus and nearby towns like North Bergen and Jersey City.